Well howdy :]
I hope everyone had a wonderful Christmas!
And aren't too emotionally damaged over Matt Smith's departure from Doctor Who BECAUSE YOU KNOW I AM.
But beyond that I have one more refashion of sorts to share before 2013 leaves us for good.
Or not for good if you have a Tardis and I said I was emotionally compromised OKAY.
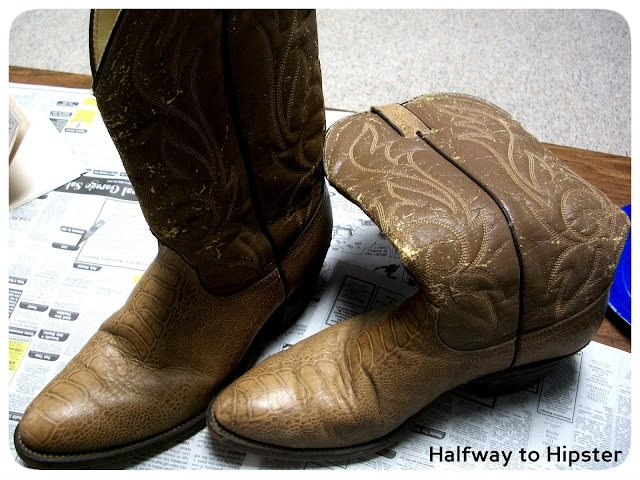
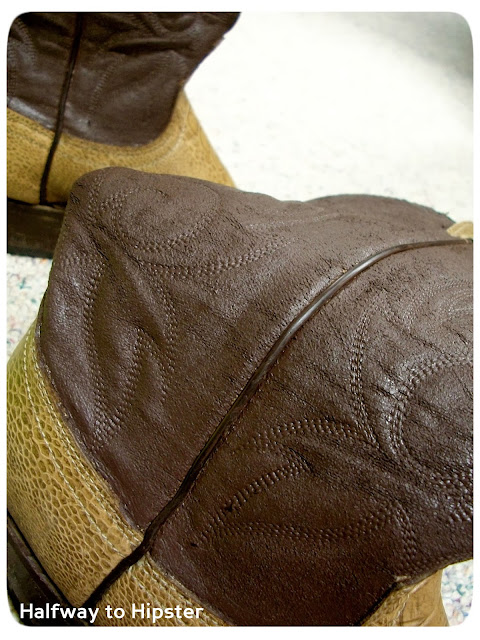
Over the summer, my roommate and I went to this hella-big flea market and found a few treasures; one of which included these beauties:
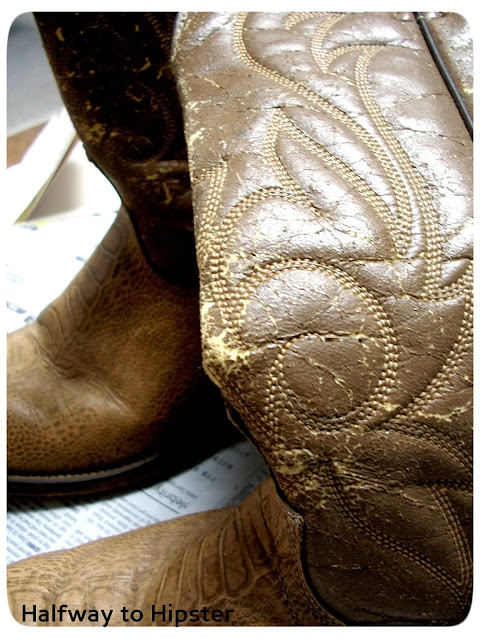
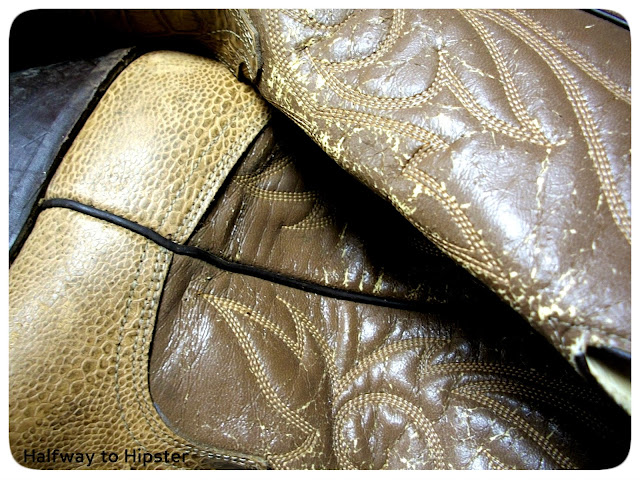
However, they did not exactly look this when I found them. Actually... they were a little more like this:
Ooh girl.
Dang.
You nasty.
But when I stumbled across them, I knew I could not just leave these poor defenseless booties to suffer on their own. They had such
potential. And for seven dollars? One does not simply pass up seven dollar cowboy boots-- I don't care who you are. So with a few materials and a little bit of
insanity experimentation, I decided to refinish these puppies and give them the facelift they deserved.
What I used:
-Fine grit sandpaper (at least 220)
-Acetone
-Paper towels
-Painter's tape
-Acrylic paint
-Paintbrushes
First, I taped off the edges of my boots that I wanted to be protected i.e. the fake snakeskin on the bottom portion of the boots. Because we all know that fake snakeskin is super dope. Then with my fine grain sandpaper, I started to take off the old finish of the boots. As you can see, the leather was already majorly coming off, so the sanding just edged it along.
It really makes you wonder where these boots have been though, right? I like to believe that they once belonged to a shirtless cowboy.
Eventually, I sanded them down to a point so that they were pretty uniformly worn. I used about medium pressure to try and take the leather off, but I made sure to avoid sanding over the stitching, lest I ruin the integrity of the boots.
Then came the acetone, which is basically like a type of paint thinner [you can find it next to the rest of the paint thinners at the hardware store]. Yeah, acetone is an ingredient in nail polish remover, but I would not use that remover itself, mostly because it has dyes and whoknowswhatelse that would affect the leather. So working one section at a time, I poured a little acetone on a paper towel and rubbed the rest of the finish off of the leather...
... until it was all shmooth.
Next came the painting. I mixed up two tubs-- one was just straight paint, the other I watered down to make a wash.
Then I just painted in stages. I painted three layers with the wash on each boot, then went on to paint two or three layers with the unwatered-down paint. The wash was really just to prep the leather for the thicker layers of paint, and I didn't really bother to let those layers dry in between. With the thicker paint, I did let those layers dry before painting on top of them again.
And now I have a pair of brand new old boots! I thought about adding some sort of protective finish on the painted parts, but acrylic is plastic-based and waterproof anyway, so I didn't really bother. If anyone has any suggestions on what to use though, I'm open :]
This makes me excited now though because imagine all the possibilities... and how many other ugly leather Goodwill shoes this technique can be used on.... hmmmmm.
Well, have a happy Friday!
Linkin' up:


