Guess who has to start school on Monday? This kid.
Guess who is completely not ready to start school on Monday? Also this kid.
So instead of going back to my new apartment to unpack and get ready for the new school year, I have a refashion to share!
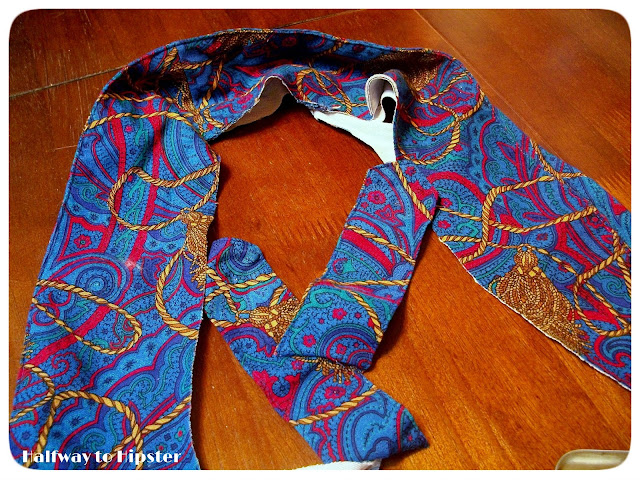
[Sorry for the blurry image] But this one was a bit of a doozy. I had no idea what to do with it at first since it was so bizarre, but I think I managed to give it a little bit of an update!
That pattern was just too fantastic to pass up; I mean little gold tassels and crazy patterns everywhere? I say AW HECK YEAH. So here was how I did a major overhaul on this one:
First I ripped out the ever-so-lovely shoulder pads. I really need to figure out something to do with all of these shoulder pads I'm amassing haha. I also cut out that weird white undershirt that was sewn into the front of the dress. [You heard me. Sewn in white shirts. I don't even.]
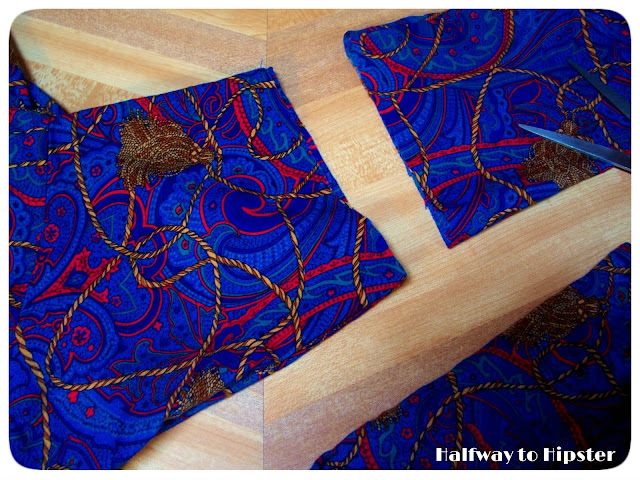
Then I a) cut off the weird shoulder detail things and b) Cut off the entire collar of the dress. Basically, a lot of chopping was in store for this dress...
Then here is where you'll have to bear with me a little bit: I decided to turn the entire dress backwards. I knew that without the white shirt demon-thing, the front of the dress would be entirely too inappropriate, so I cut a new neckline out of the back of the dress instead.
Then it was back to more chopping- the sleeves got a good shortening, as well as the bottom of the dress.
With all the chopping done, I turned the dress inside out, then took the entire top half in a good inch or two so that it fit me a little better. Then once it was all fitted, I hemmed the sleeves, neckline, and bottom of the skirt portion.
Unfortunately, here was where I ran into a little more trouble. I could have worn the dress as-is at this point, with a super open back and everything, but I felt that if I did that, I could run into some dangerous territory. So instead I came up with this crazy idea: using a scrap from the bottom of the dress, I sewed a rectangle that was a little bit long and wide [to conceal a bra backing CLEVER ME], which I proceeded to sew into the bottom-back area of the dress to hold it together a little better.
I then did the same thing with a long skinny rectangle of fabric, this time attaching it to the upper part of the back of the dress.
And then there it was! A funky-printed, cut-out dress! It's a little weird because I have to slip the whole thing over my head to get it on [I only put two buttons on the back near the butt-region], so if I ever do something like this again, I'll probably not sew the back straps down like I did.
But regardless of that fact, I'm still pleased to knock another crazy dress out of my "to be refashioned" pile :]
Have a pleasant Thursday! [AND REMEMBER THAT PROJECT RUNWAY IS ON TONIGHT AW YISS].
Linkin' up Here and Here.


