Saturday, March 15, 2014

DIY Ribbon Belt

Oh hey there, chaps.
How is life out there?

Unfortunately I haven't had much time for things and such lately, but I do have a few future things in the works. I actually have something to share today that I finished some time ago, but didn't get around to posting because I'm lazy. 

So here's a little thing that I made to go with the New Look Dress!

DIY Ribbon Belt

Oooh, fancy. But not really. But kinda.
I found this scrap of ribbon in my mom's collection of notions and decided that it wanted to be a belt. Because who doesn't aspire to be a belt, amiright? Care to make one yourself? Here's how I did it!

DIY Ribbon Belt

First I gathered my materials, including the ribbon, some long scraps of black fabric, scissors, pins, a ruler, sewing machine, accompanying thread, and a laptop loaded with Season Three of Sherlock because this last season was PURE GOLD.

DIY Ribbon Belt

Oh yeah, and don't forget your very large, very helpful assistant.

DIY Ribbon Belt

Then I made some measurements. My ribbon scrap was about 18 inches long by 1.5 inches wide. Because of this, I cut two scraps of black fabric that I had leftover from my last project into rectangles that were 3 inches wide by aaabbbbouuuuttt... Idk, maybe 40 inches-ish? This was definitely an inexact science, and you could really make your belt as long and as wide as you want. That's just how big my scraps were haha. So I cut the scraps to size (keeping them pinned together) and prepared to sew them together.

DIY Ribbon Belt

Then I sewed a 3/8 inch seam along three sides of the fabric (the two long sides and one short one).
[Can you tell that Kitty was being generous and sharing his fur with this project?]

DIY Ribbon Belt

Then I turned the fabric right-side-out and finished off the last side. After giving it a good press with the iron, I was ready for the next step!

DIY Ribbon Belt

So since my ribbon was fraying a little, I decided to fold over the edges and sew them down, just to give the whole thing a little more polish.

DIY Ribbon Belt

Finally, I pinned down the ribbon where I wanted it to go and sewed it down. Simple as that!

DIY Ribbon Belt

Boom. Pow. Yeah. Now I have a super cute belt to go with my new dress! I mean, don't you just love that pattern? So southwest, so geometric-y. Loooooove.

DIY Ribbon Belt

And it seriously only took minimal time and effort. I already had all of the materials, and it was a good way to eat up some scraps rather than throwing them away! Now I feel like making a thousand more belts out of random materials. I already made another one that is just as wacky, but I have to photograph it still. Awww yeah.
Well, good luck on all of your belt-making ventures! I'd love to see if anyone makes one!


Linkin' up!
x x x

Saturday, March 1, 2014

January/February Sketchbook

Remember that one time that I said I was going to do monthly sketchbook updates? Yeah, I forgot last month's haha. But I didn't mean to! Promise! Things and stuff have just been crazy and yeah.

I haven't had the MOST time for art these past two months, but I've been trying to sneak in a sketch here and there. I was able to do a few things at the beginning of January before school started, but ever since then I've been a bit more sporadic.

But I do have a few things to share:


January/February Sketchbook

I don't know if y'all know this... But I FREAKING LOVE THRANDUIL. You know-- Party King? Legolas's dad from the Hobbit? No? Just me? Okay, well I love him because he is just so fab. So so fab.

January/February Sketchbook

Then just sketching some crystals [and I love how you can see the ghost of King Thrandy in the background haha].

January/February Sketchbook

I also drew a picture of my friend's original character for her, Delaney, but I still don't really like how he turned out...

January/February Sketchbook

And then Jaqen H'Ghar because yeah.

January/February Sketchbook

At the beginning of January I also went on a big blue Sharpie kick. This would be exhibit A.

January/February Sketchbook

Aaaaand exhibit B. Have I ever mentioned how much I love drawing hipster hair? Because I def do.

January/February Sketchbook\

Finally, the last one is completely my roommate's fault. She lent me her markers and told me to draw something uncreative. Which then turned into a reference from Don't Hug Me I'm Scared. [If you value your sanity, don't youtube that. Trust me.]


Anyway, I just thought I'd show y'all a little bit of what I have been up to!


Linkin' up:
x x x


Sunday, February 16, 2014

The Patriotic Dress

Heh. Hey. Hey guys.

Does anyone remember when I made this dress? (If not, you can read all about the pattern over there!)
Well, I used the same pattern and have created... quite possibly the best thing I have ever sewn:

Patriotic Dress

MERICAAAA. PATRIOTISMMMM.
Seriously guys. I was laughing the whole time while making this because... well... sexy presidents. Who knew? Seriously. Dead.

Patriotic Dress

I found the fabric at Joann's and thought "THIS. I NEED SOMETHING WITH THIS."
And I know that the fabric is a little out there, but I really have no boundaries. So I regret nothing about this purchase haha.

Patriotic Dress

And apparently, the sexy presidents is just one fabric in a line of many. I also found sexy cowboys, Irishmen, and construction workers, to name a few.

Patriotic Dress

I mean come on. Even if you are not American, you have to admit that this fabric is pretty boss. Content aside, the painting and rendering is actually quite gorgeous [art nerd, let me beeee].

Patriotic Dress

And who wouldn't want to celebrate the founding fathers, especially since President's day is right around the corner. You know I'll be kickin' it so hard all day in this tomorrow.

Patriotic Dress

Beyond that, the sewing of this was really quite easy. Like I mentioned in my last post, I really love that New Look pattern I intend on making a thousand more dresses with this pattern, and no one can stop me [a Tardis dress is next on my docket].


So yeah-- Pinnacle of my sewing career.
I would definitely encourage everyone to make at least five of these. Because I can assure you that EVERYONE will be super jealous. I know I would be....


Linkin' up:
x x x

Saturday, January 25, 2014

New Look Black Dress

Can you believe that I had gone 21 years without ever learning how to properly read a sewing pattern? I know, I am just as appalled. But it was always my logic of  "ain't nobody got time for that" that kept me from learning...

... until winter break. Guys. Guys hey. Look. I'm a sewing adult now.

New Look Black Dress

[PS-- Hardcore rocking the Jaqen H'ghar hair and I regret nothing]
Awww yeaaah. I finally sat down and, with the help of my mother and some mad texts directed at Carolyn, I manned-up and learned how to actually read a proper pattern.
I mean I freaking love sewing, but I've always just done derpy things that don't require attention, or did refashions that don't run by prescription. But while I was at Joann's over break, I found THE MOST MAJESTIC fabric [which I will share with you soonly!] and knew that I had to learn how to make a dress out of it.

New Look Black Dress

In comes the New Look Dress. I saw this pattern in the wall of patterns that Joann's always has and thought "Oh hey, I could probably hopefully make that," So I decided to give it a go. And I adore the results!


The pattern is Simplicity New Look pattern 6223 [which you can find here], but when I found it, it had 0909 printed on the envelope. I thought that it had a nice vintage-y-ish feel to it [I made option c], and let me tell you-- it was actually pretty easy to make!

New Look Black Dress

For this one, I just used a simple black broadcloth, but I did vary from the pattern in that I lined the skirt and the bodice, rather than just the bodice.

New Look Black Dress

So if you're ever in the neighborhood for a new pattern to check out, I definitely suggest this one! If I can handle it [you know, the kid who doesn't like to conform to directions] then anyone can do it! Now excuse me while I make about 80 more of these [totally not weird, right?]. I mean, I DO think that I saw some nice cat-patterned fabric on sale the other day...


Linkin' up!
x x x

Sunday, January 19, 2014

Teal Flowered Dress Refashion

Hey hey~

I have a little refashion to share with y'all that I finally managed to photograph last week:

Teal Flowered Dress Refashion

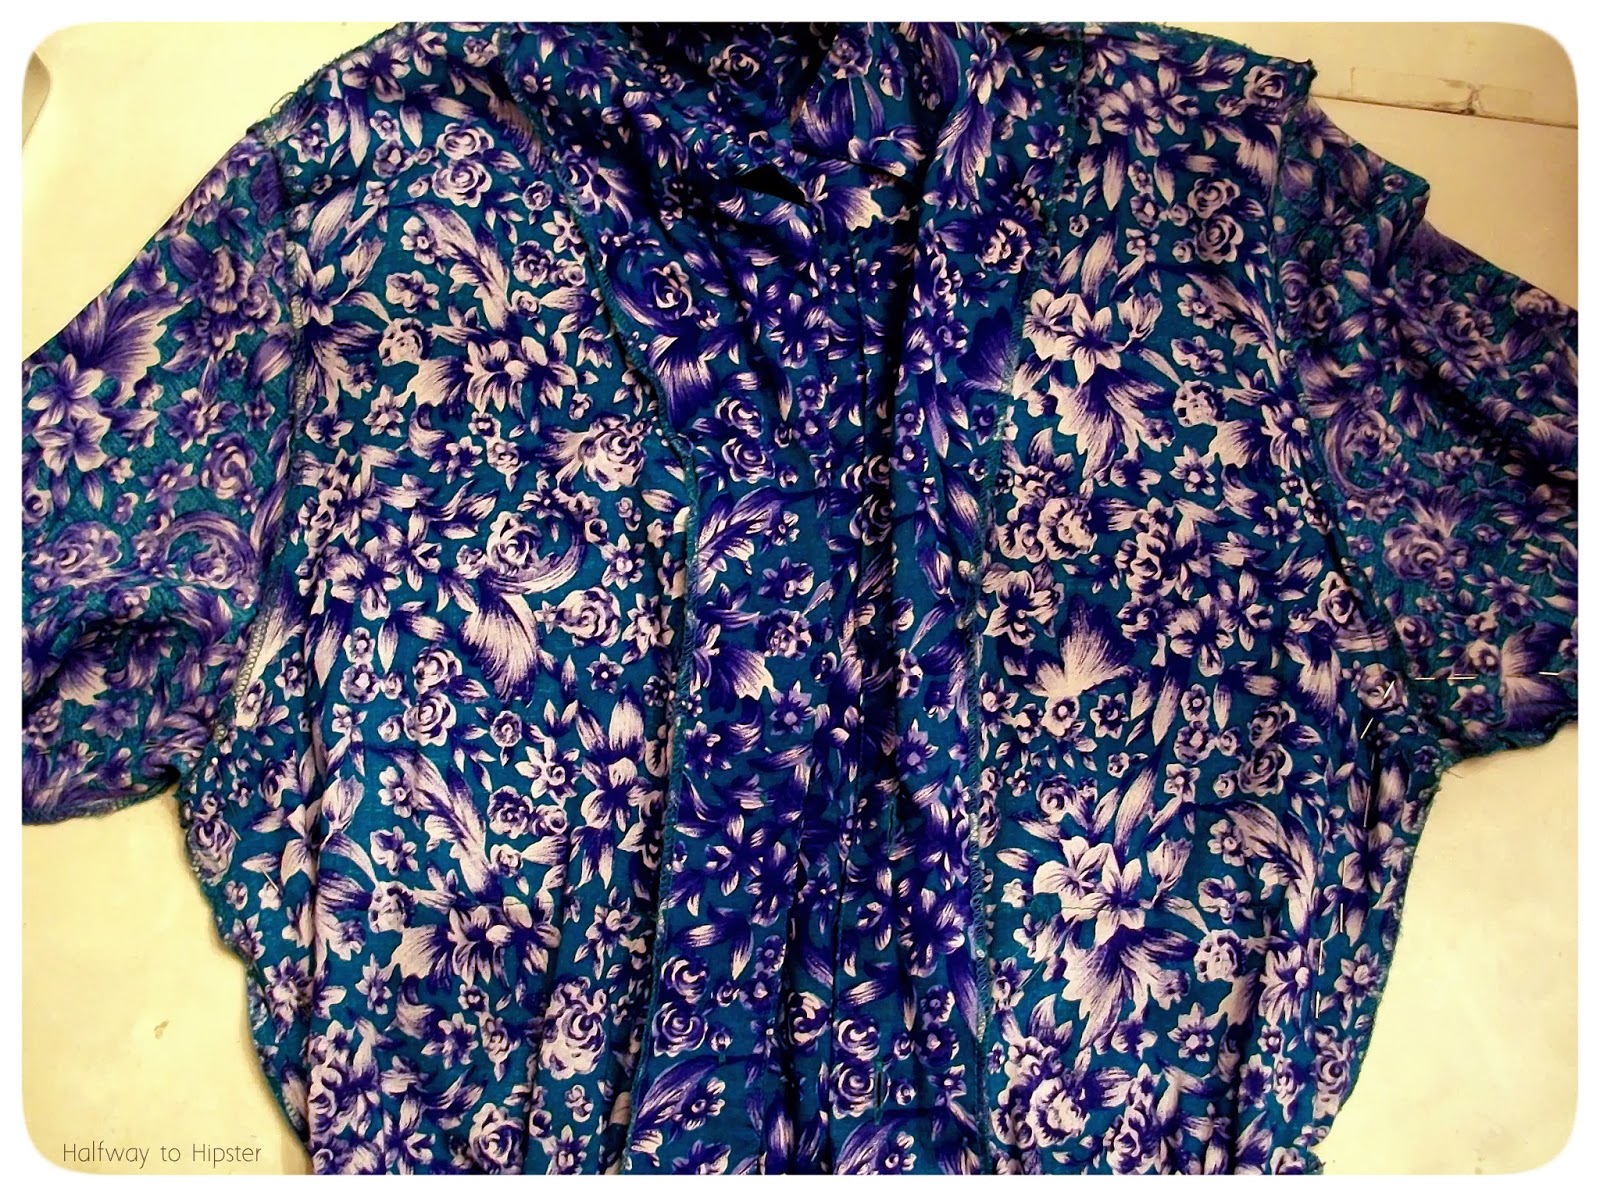
I got this dress at Goodwill over the summer for only a dollar, but I didn't get around to fixing it up until over winter break. And now it's gone from "buuh" to "eeeeh, she still probably needs help learning how to dress herself" haha.

Teal Flowered Dress Refashion

The first thing I did was chop out the shoulder pads, which Kitty one hundred percent approved of. Seriously, I wouldn't know how to fashion if it wasn't for him.

Teal Flowered Dress Refashion

Then I chopped about four or five inches off of the bottom. Because while I enjoy frumpy, this was just a little too frumpy.

Teal Flowered Dress Refashion

And of course put in a new hem!

Halfway to Hipster: Teal Flowered Dress Refashion

I wasn't really feelin' the sleeves either, so I chopped most of them off.

Teal Flowered Dress Refashion

Then before I hemmed off the sleeves, I decided to take in the sides a little, just because the top was a little bit too big on me still.

Teal Flowered Dress Refashion

Finally, I hemmed up the sleeves and all was right in the world! Awww yeah.

Teal Flowered Dress Refashion

[I clearly know how to take pictures] And booyahmozzarellasticks, another refashion in the bag. I really don't know why I always gravitate towards crazy prints, but you have to admit-- at least they're interesting haha.


But hey, weirdly enough, my pile of "to be refashioned" items is almost depleted, which mean OH DARN I'll have to go thrifting soon. I'm sure my roommate Krispy won't mind being dragged either... [which reminds me sidenote Becca/Krispy decorating tip number one: if you don't have at least three American flags in your apartment, you might be doing it wrong.]

That's it for now!


Linkin' up:
x x x


Sunday, January 12, 2014

DIY Spectator Shoes

DIY Spectator Shoes


Can we just take a moment to talk about how dang fancy spectator shoes are? Because let's be real-- they're pretty darn swanky. There's just something about the crisp black and white of these bad boys that screams shut up, I'm classy, and who wouldn't love that?

Does anyone remember when I refinished these cowboy boots? Well, they got me excited and thinking of other things that I could make using that technique. So last time I went to Goodwill, I picked up some shoes and set out on another experiment. And the results speak for themselves [aka, you is fine].
Care to make some for yourselves? Well here is what I did:

DIY Spectator Shoes

Much like in Cowboy Boot Refash, first I gathered my materials. This time I did it a little different, so I ended up needing some old leather castoff shoes, paper towels, acetone, white leather paint, and some brushes.

DIY Spectator Shoes

Next, I removed the laces and went straight to work with the acetone. I wanted to remove the finish from the leather in the areas that I planned to paint white, so working a small section at a time, I would pour a little acetone on a paper towel and rub the leather until the black finish stopped coming off of the shoe. Then I took a fine grained sandpaper and roughed up the surface to be painted.

DIY Spectator Shoes

Once I had removed all of the finish from the leather, I began to paint it with some white acrylic paint. Edit: after wearing these shoes for a while I noticed that the paint was getting little cracks in some areas so I decided to go a different route. I ordered some Angelus brand Leather Paint [which you can find here], which I just found out is specifically for leather. So I will keep you posted on how this type of paint holds up!

DIY Spectator Shoes

With the help of my trusty sidekick, I let the shoes dry and then put the laces back in.

DIY Spectator Shoes

And just like that, you have [almost] instant fancy!
I swear, every time I go to Goodwill, I see about a dozen pairs of plain ol' shoes like these. THINK OF THE POSSIBILITIES, GUYS. And they weren't even expensive to make! These only cost me five dollars to make, mostly because I already had all of the other materials.

DIY Spectator Shoes

Plus, wouldn't it be fun to make a bunch of these in obnoxious different colors? I think that the next pair I make are begging to be Tardis blue and white... Oh I like this idea...

DIY Spectator Shoes

And all I have to say is-- Dapper. As. Heck.


Linkin' up:
x x x

Thursday, January 9, 2014

DIY Pallet Shelf

Greetings lovelies!
So remember when I said that I had other Christmas gifts to share with you all? Well here I have another one, and I'm kind of smitten with the way that it turned out:

DIY Palette Shelf

I made this sweet little [actually, it's not so little] pallet shelf for my sister because she kept on bothering me to make her something like this. And it was actually pretty easy to make!

DIY Palette Shelf

All I did was cut off about 8 inches on each side [I basically just cut off the last long boards on each side]. I then broke those long boards down again and nailed them to the freshly cut sides of the pallet.

DIY Palette Shelf

Then I sanded the whole thing down, threw on a coat or two of some old wood stain I found in my basement, and finished the whole thing off with three coats of satin polyurethane. [If you don't think that satin polyurethane is a gift from the heavens, then ohmygosh I do not understand you. I could drink that stuff, it's so perfect. Well... maybe not drink it, but you get my point. IT'S WONDERFUL.]

DIY Palette Shelf

Unfortunately [for her, not my mother] my sister could not take the shelf back home with her in her tiny anti-car, so my mother is taking good care of it for her. I love old bottles soso much, so I decked it out for her with these jars I found in my house.

DIY Palette Shelf

Now I think that it looks pretty cute in my mother's dining room :]
I have one more pallet left from when I went university-dumpster-diving earlier this semester; originally I was going to make something different with it, but now I might have to make one of these for myself... so long as I don't anger any more grad students in the woodshop while making it again [but that's a whole 'nother story haha.]

Anyway, I'm super happy with the way that this turned out, so I totes encourage anyone else to try making one for themselves too! It was seriously so easy, and if you can get a pallet fo' free? Even better, yo.


Linkin' up:
x x x